
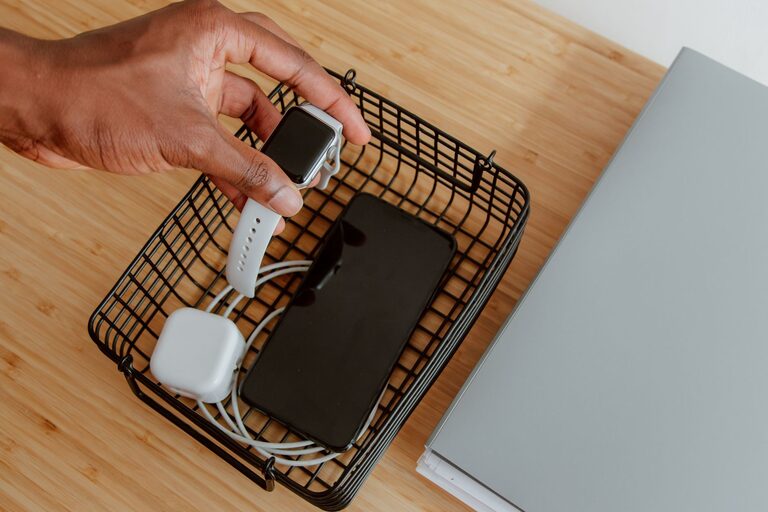
How to Set Up a Charging Station for All Your Devices
Setting up a dedicated charging station can simplify your daily routine, reduce clutter, and ensure all your devices are ready when you need them. Whether you have phones, tablets, smartwatches, or wireless earbuds, a well-planned charging station helps keep everything organized and easily accessible. This guide will walk you through the essentials of creating an efficient charging station in your home or office.
Why Have a Charging Station?
Before diving into the setup, it’s helpful to understand why a charging station is beneficial:
– Organization: Keeps cables, chargers, and devices in one place, reducing mess.
– Accessibility: Easy access to devices when charging.
– Safety: Reduces the risk of tangled cords or damaged cables.
– Efficiency: Helps monitor which devices need charging and prevents overcharging.
Now, let’s explore how to set one up.
Step 1: Choose the Right Location
Selecting the best spot for your charging station is the first step. Consider these factors:
– Central and Convenient: Pick a place you frequent, such as a living room console, bedside table, or office desk.
– Near Power Outlets: Ensure there are sufficient electrical outlets nearby to power multiple devices.
– Ventilation: Avoid enclosed spaces that can trap heat from charging devices.
– Stable Surface: Use a flat, sturdy surface to keep your chargers and devices secure.
Step 2: Gather Your Supplies
To build an effective charging station, gather these items:
– Multi-port USB charger: A charger with several USB ports allows multiple devices to charge simultaneously.
– Charging cables: Compatible cables for each device (USB-C, Lightning, Micro-USB).
– Cable organizer or clips: Keeps cables untangled and neat.
– Dock or stand: Optional, but helpful for holding devices upright.
– Power strip or surge protector: Protects devices and extends your power capacity.
– Container or tray: To hold smaller items like earbuds or smartwatches.
– Labeling stickers: For easy identification of cables and ports.
Step 3: Plan Your Charging Station Layout
Once you have your location and supplies, plan where everything will go:
– Arrange the charger and power strip: Position these close to the power outlet.
– Organize cables: Use cable clips or organizers to separate and route each cable cleanly.
– Place devices: Use docks or stands to position your devices so they don’t sit on top of each other.
– Designate compartments: Use trays or small containers for smaller gadgets or accessories.
Step 4: Set Up and Connect
Follow these steps to assemble your station:
- **Plug in the power strip or surge protector.**
- **Connect the multi-port USB charger to the power strip.**
- **Attach all charging cables to the USB charger.**
- **Arrange cables neatly with clips or ties to prevent tangling.**
- **Place devices on docks or stands, connecting them to their respective cables.**
- **Use labels if helpful to identify which cable belongs to which device.**
Step 5: Maintain Your Charging Station
To keep your station efficient over time:
– Regularly check cables for wear or damage.
– Remove devices promptly once they’re charged to free up space.
– Clean the area to prevent dust buildup.
– Update charging accessories as needed for new devices.
Tips for a Better Charging Station
– Consider Wireless Charging: For devices that support it, wireless charging pads can reduce cable clutter.
– Use Fast Chargers: Investing in fast charging adapters can save time.
– Add a Timer: A smart plug with a timer helps prevent overcharging and saves energy.
– Make it Portable: Use a box or basket with handles if you want a movable station.
Conclusion
Setting up a charging station is a practical way to streamline your device management. With the right location, tools, and organization, you’ll keep your gadgets charged, protected, and ready to go. Try these simple steps and enjoy a cleaner, more efficient space for your tech essentials.
